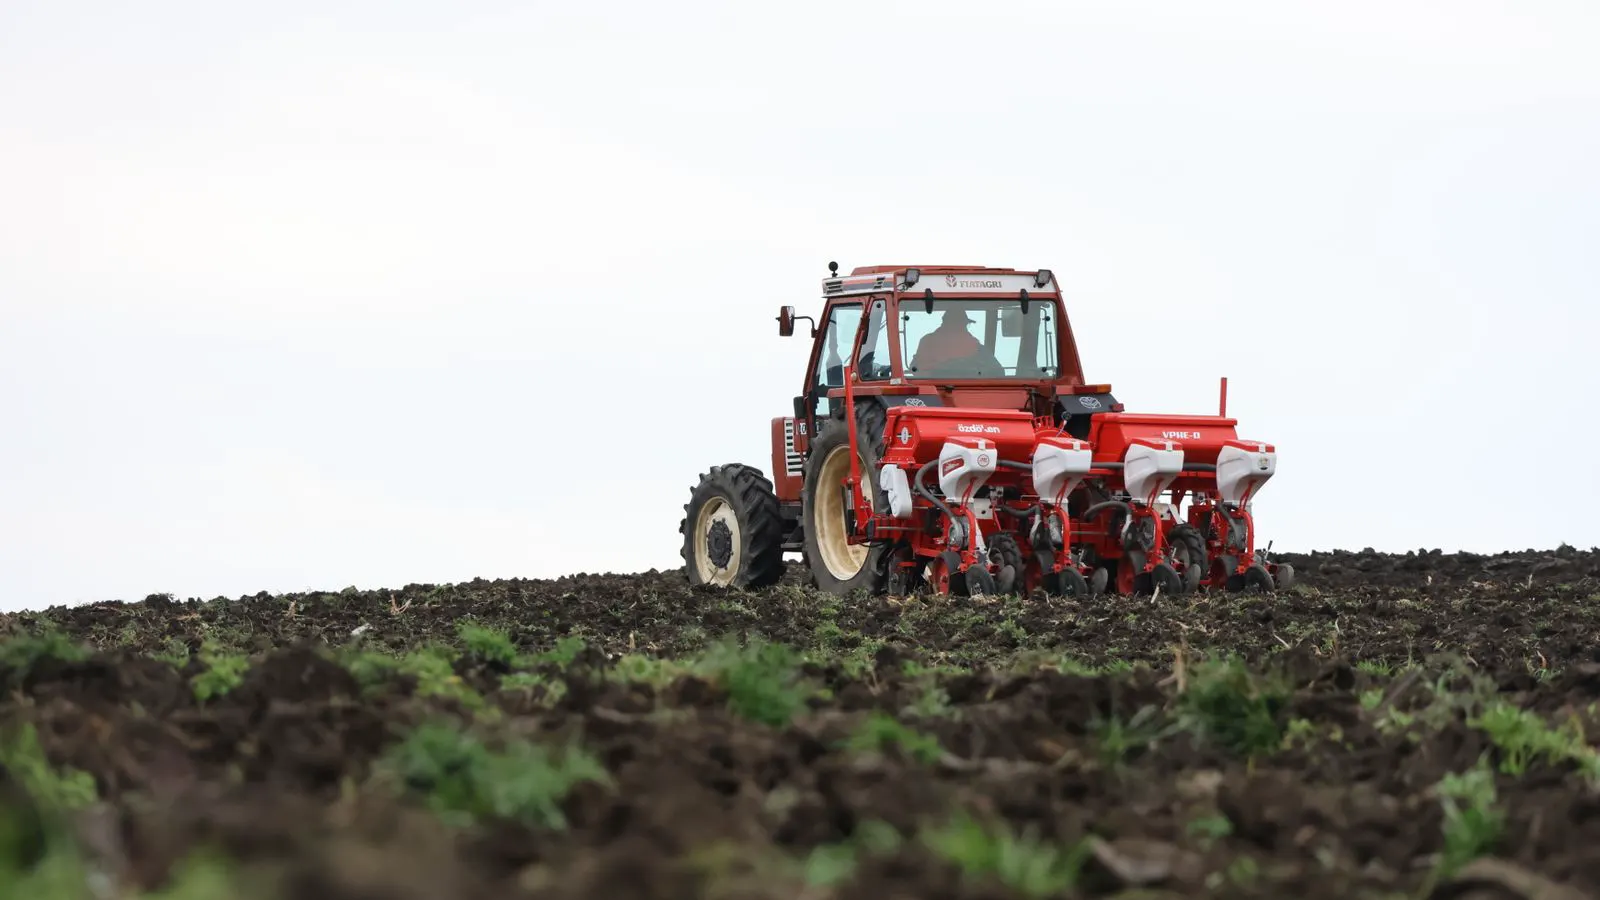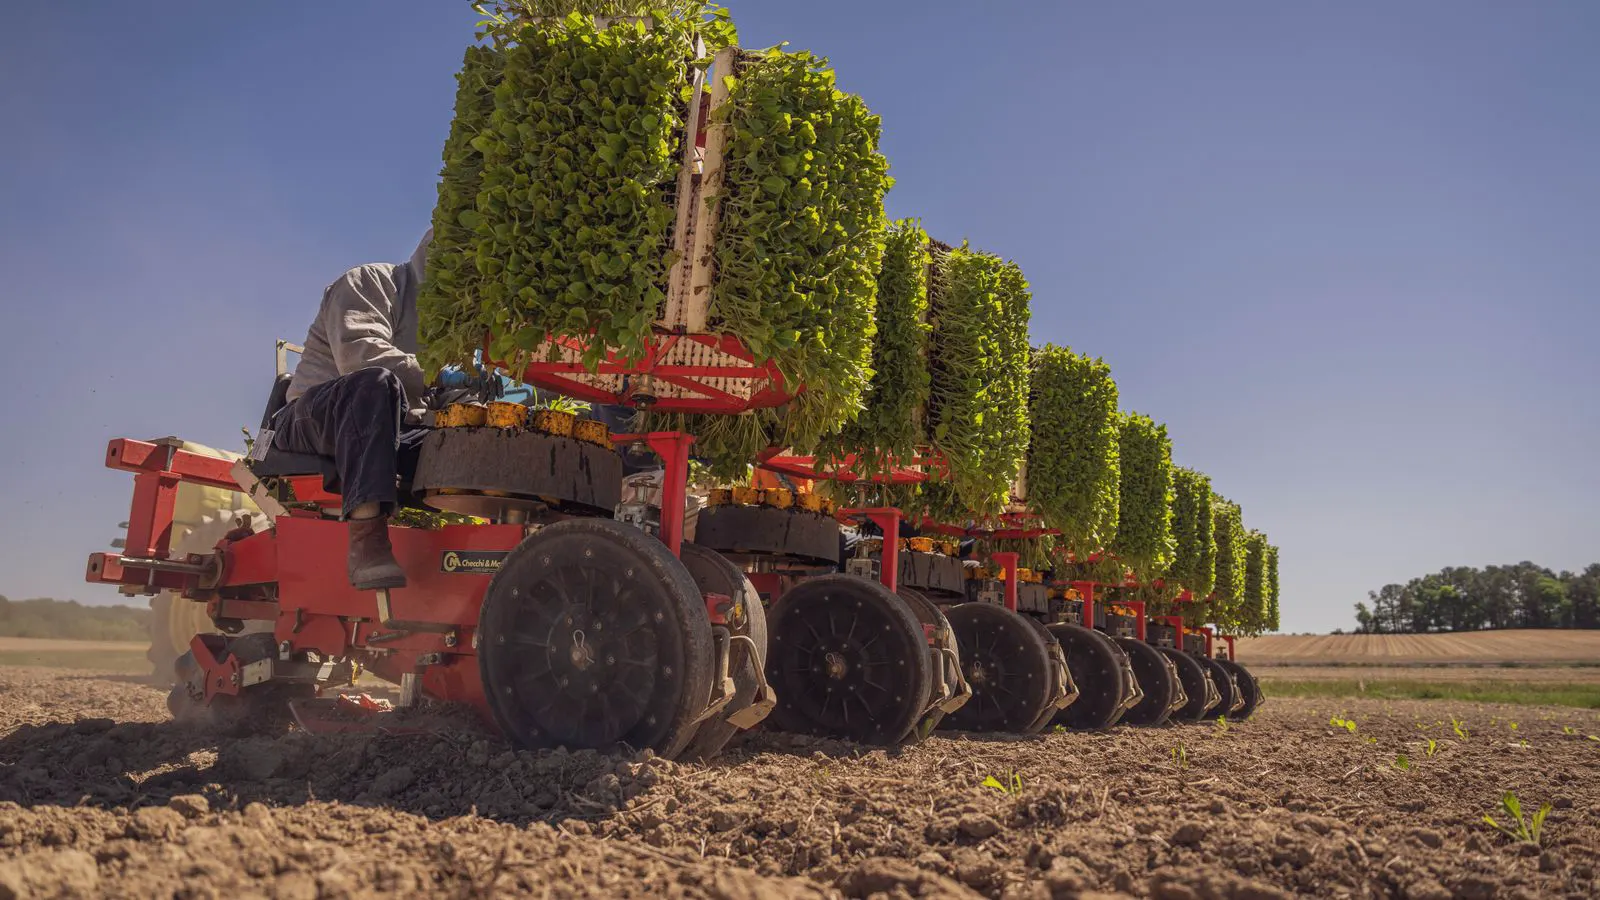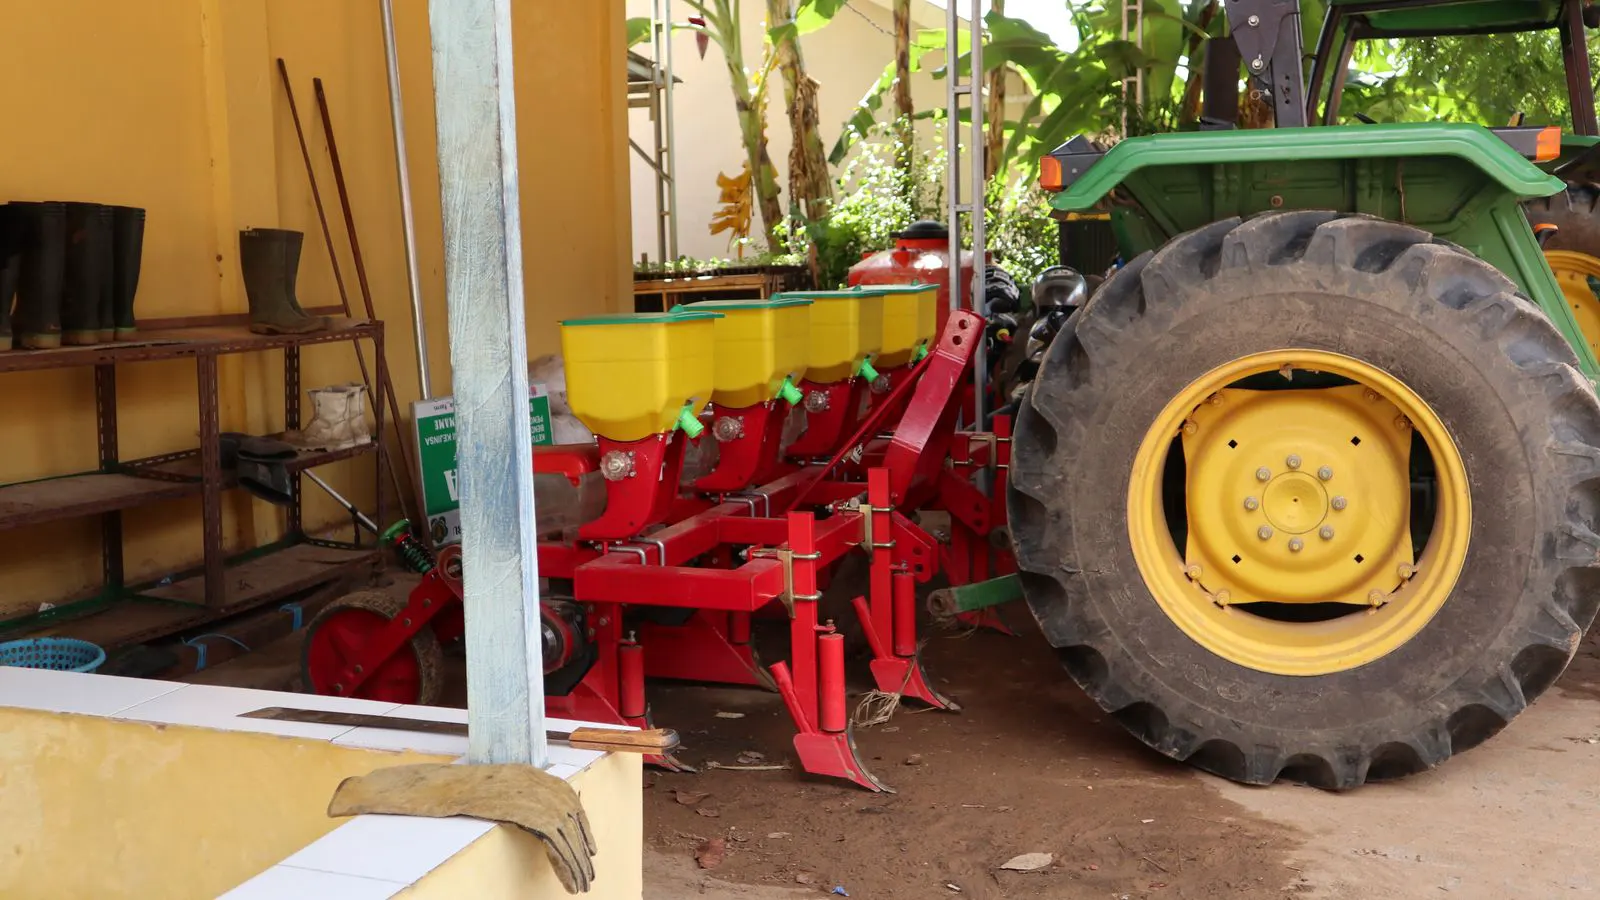
This checklist covers planter maintenance tasks for row units and other seeding equipment. It lists specific checks for wear, calibration, and function to ensure the planter is ready for the upcoming planting season.
- Inspect every row unit for bent frames, worn tires, and damaged seed meters.
- Test the drive mechanism to ensure consistent spacing under variable soil conditions.
- Verify that all hydraulic and mechanical linkages move freely without binding.
- Document any repairs or part changes to track the condition of your seeding equipment.
Why Row Unit Condition Determines Planting Quality
The row unit is the physical interface between the planter and the soil. It controls depth, spacing, and seed-to-soil contact. If a row unit is out of spec, the whole planter underperforms, regardless of the quality of the seed or the accuracy of the drive system.
A pre-season maintenance pass is the single best way to catch small issues before they become field problems. A bent frame can pull the seed depth off by several inches. A worn tire can cause inconsistent spacing in heavier soils. A clogged seed meter can drop plants in a row.
The following checklist groups maintenance tasks by theme. Each section explains what to check, why it matters, and what red flags mean the part needs replacement.
Structural Components and Frame Integrity
Start with the structure that holds the row unit together. The frame, the toolbar, and the connecting arms must be straight and free of cracks.
- Inspect the main frame for bends or weld failures.
- Check the toolbar for cracks, especially around bolt holes.
- Examine the linkage arms for wear at the pivot points.
- Verify that all bolts and pins are present and secure.
A bent frame is the most common structural failure. It often happens when a planter hits a hard object, like a rock or a fence post, during the previous season. The frame may not look visibly bent, but the row unit may sit at the wrong angle when lowered.
Red flags include:
- A row unit that does not sit level when the planter is on flat ground.
- Visible cracks in the frame or toolbar.
- Pins that are worn to the point where they wobble in their sleeves.
- Missing or stripped bolt threads.
If you find a bent frame, do not just tighten it. The geometry of the row unit will be wrong. This affects seed depth and cover. Replace the frame or the entire row unit if the damage is significant.
Tires, Wheels, and Ground Contact
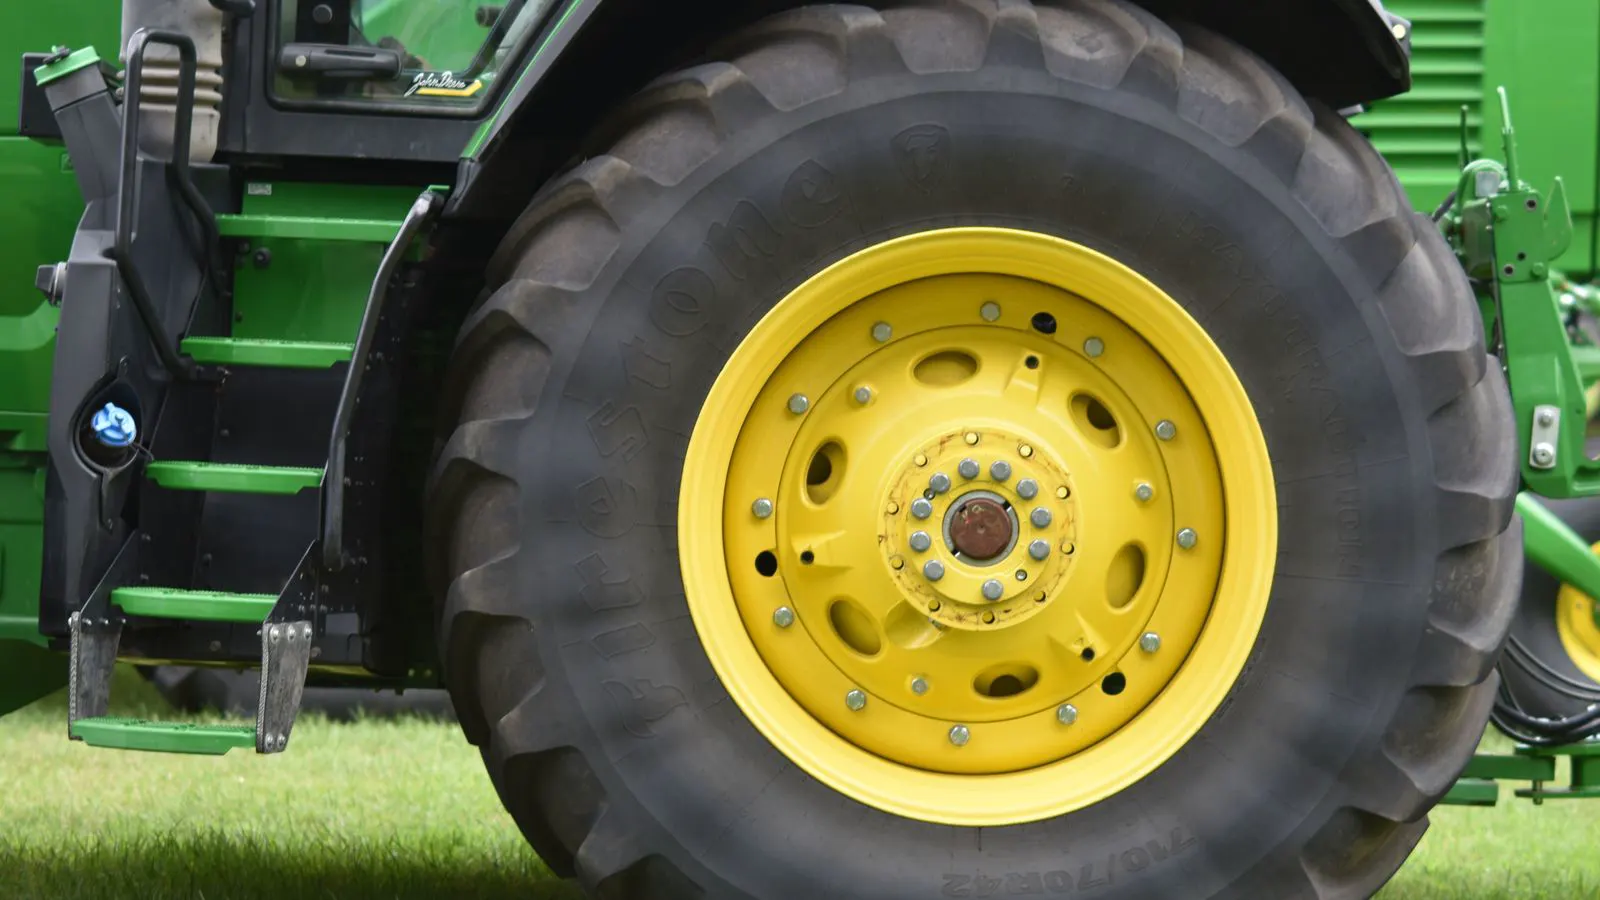
The tires or wheels on a row unit determine how the unit moves through the soil. They are the first point of contact with the ground and the last point of contact when the planter lifts.
- Check tire pressure.
- Inspect tire tread for wear and flat spots.
- Look for cracks in the tire sidewalls.
- Verify that the wheel or tire is centered on the axle.
Flat tires are a major red flag. A flat tire changes the ground contact area and can cause the row unit to dig in unevenly. This leads to depth variation. It can also cause the row unit to bind against the soil, which stresses the frame and the linkage.
Worn tires are a slower failure. Over time, the tread wears down. The wheel then sits deeper in the soil than it should. This changes the depth of the seed opening. In heavy clay soils, a worn wheel can pull the row unit down, making it harder to lift the planter off the ground.
Red flags include:
- Tires that are visibly flat or have a low profile.
- Tread that is worn smooth.
- Sidewalls that show cracks or bulges.
- Wheels that are not centered and rub against the frame.
Replace tires or wheels if the tread is worn below the manufacturer’s minimum spec. Do not rely on a “good enough” tire. A small amount of extra depth is easy to miss in the field but hard to correct once the row is planted.
Seed Meters and Drive Mechanisms
The seed meter is the heart of the row unit. It controls how much seed goes into the soil. The drive mechanism moves the meter. If either is out of spec, you get inconsistent plant population.
- Clean the seed meter.
- Inspect the meter’s wear parts.
- Check the drive gear.
- Verify the meter turns freely.
Seed meters come in different types. Disc meters, cup meters, and ribbon meters all have different wear patterns. Disc meters wear on the discs. Cup meters wear on the cups. Ribbon meters wear on the ribbon.
A worn disc meter will not drop the correct amount of seed. It may drop too much or too little. This is hard to detect in the field. You might not see the problem until you count plants in the row. By then, the season is underway.
Red flags include:
- A meter that sticks or does not turn freely.
- Wear on the discs, cups, or ribbon.
- Gaps between the drive gear and the meter that are too large.
- Seed that is visible in the meter after cleaning.
If the meter is worn, replace it. Do not try to “make it work” by adjusting the drive. A worn meter will not perform correctly, even with a good drive system.
Depth and Control Systems
The depth control system sets how deep the seed goes into the soil. It uses springs, hydraulic cylinders, or a combination of both. The system must be calibrated and functioning properly.
- Check the depth gauge.
- Inspect the springs or hydraulic cylinder.
- Verify the depth control lever moves freely.
- Test the depth on a test plot.
The depth gauge is the first place to look. If the gauge is stuck, you have no idea how deep the seed is going. If the gauge is loose, it gives false readings.
The springs or hydraulic cylinder provide the force to hold the row unit at the set depth. If the spring is weak, the row unit will sit higher than it should. If the hydraulic cylinder is leaking, the row unit will sink. Both problems cause depth variation.
Red flags include:
- A depth gauge that does not move with the row unit.
- Springs that are compressed or stretched.
- Hydraulic fluid leaks.
- A row unit that does not hold its depth when the planter is moving.
If the depth system is out of spec, the row unit will not plant at the correct depth. This affects germination. It affects plant stand. It affects yield. Fix the depth system before the field work begins.
Linkages and Hydraulic Connections
The linkages connect the row unit to the planter frame. They move the row unit up and down. They also provide the force to press the row unit into the soil. The hydraulic connections provide power to the depth control system.
- Inspect the linkage arms for wear.
- Check the pins and bushings.
- Look for hydraulic hose cracks.
- Verify that all hydraulic connections are tight.
Worn linkages are a common problem. The pins and bushings wear over time. The linkage then has play in the movement. This causes the row unit to move out of alignment with the frame.
A loose linkage can cause the row unit to hit the ground hard. It can cause the row unit to bounce. It can cause the row unit to dig in. All of these problems affect planting quality.
Red flags include:
- Play in the linkage arms.
- Worn pins or bushings.
- Cracked or frayed hydraulic hoses.
- Leaking hydraulic connections.
Replace worn linkages before the season starts. A loose linkage is not a safety issue, but it is a performance issue. It causes the row unit to work harder and less accurately.
Final Pre-Season Verification
Before the planter leaves the shop, run a full verification pass. This is the last chance to catch a problem. It is also the best chance to document the condition of the equipment.
- Run the planter at field speed.
- Check the row units for even movement.
- Verify the depth on a test plot.
- Count the plants in a row.
- Document all repairs and part changes.
Run the planter in the field before the planting season. Drive it at normal speed. Watch the row units. They should move smoothly. They should not bounce. They should not dig in.
Check the depth on a test plot. Use a depth gauge or a depth stick. Verify that the seed is going at the correct depth. This is the only way to know if the depth system is working.
Count the plants in a row. Use a marked section of the row. Count the number of plants per unit of length. Compare it to the expected count. If the count is off, there is a problem with the seed meter or the drive system.
Document everything. Write down what you checked. Write down what you repaired. Write down what parts you replaced. This record is useful for the next pre-season pass. It also helps you track the condition of the equipment over time.
If you find a problem during the verification pass, fix it before the season starts. It is better to spend an hour in the shop than a day in the field. It is better to replace a part now than to deal with it while the planter is running.
A well-maintained row unit is the foundation of a good planting season. The checklist above covers the major components. It is not exhaustive, but it covers the parts that cause the most problems. Follow it, and you will have a planter that is ready for work.
Frequently asked questions
How often should I check the row unit tires?
Check the tires before the planting season and again after the season. In heavy soils, check them more often during the season.
What is the most common problem with seed meters?
Wear on the meter parts is the most common problem. Discs, cups, and ribbons all wear over time and need replacement.
How do I know if the depth system is out of spec?
Use a depth gauge or a depth stick on a test plot. If the seed is not going at the correct depth, the depth system is out of spec.
Can I fix a bent frame myself?
Do not try to straighten a bent frame. The geometry will be wrong. Replace the frame or the row unit if the damage is significant.
What should I do if I find a leak in the hydraulic system?
Replace the hose or the connection before the season starts. A leak will cause the row unit to lose depth control.